Ingredients
Scale
- e cubes
- ¼ cup heavy cream (for blending, optional but recommended)
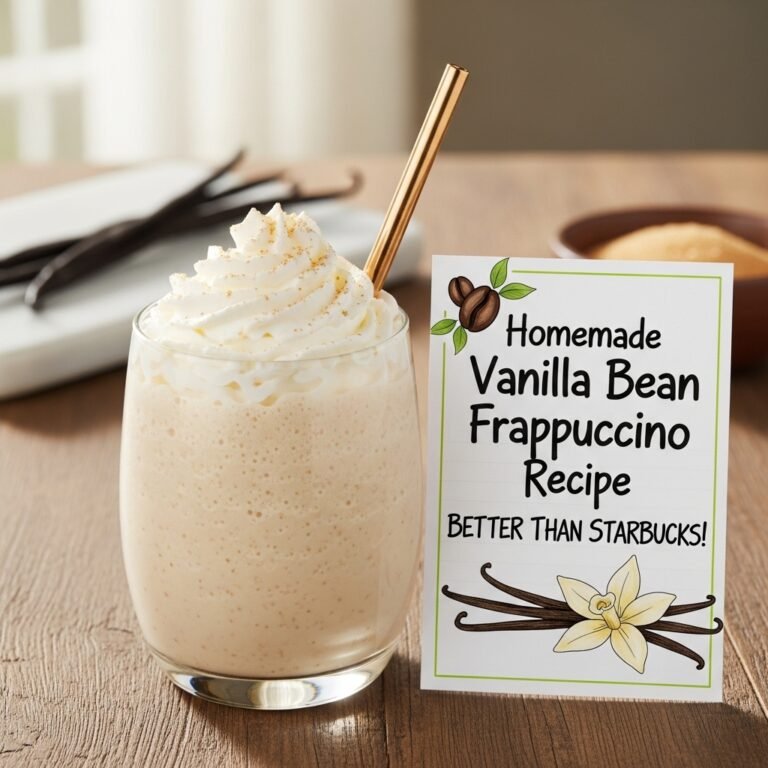
- Whipped cream (for topping)
- Extra vanilla bean paste or vanilla powder (for garnish, optional)
Instructions
- Prepare Your Blender: Make sure your blender is clean and completely dry. A wet blender can dilute your frappuccino and affect the texture.
- Add Liquids First: Pour the cold whole milk into the blender first. This helps protect your blender blades and creates better circulation for smooth blending. Add the heavy cream if using.
- Add Flavorings: Measure and add the granulated sugar and vanilla bean paste (or vanilla extract) to the blender. The sugar will dissolve as you blend, creating that sweet vanilla base.
- Add Ice Last: Add the ice cubes on top of the liquid ingredients. This layering technique helps the blades catch the ice more effectively and creates a smoother consistency.
- Blend on High: Start blending on low speed for a few seconds, then increase to high speed. Blend for 30-45 seconds, or until the mixture is completely smooth with no ice chunks remaining. You should hear the sound change from loud crushing to a smooth whir when it’s ready.
- Check Consistency: Stop the blender and check the thickness. Your frappuccino should be thick enough to require a straw but pourable. If it’s too thick, add 1-2 tablespoons more milk and pulse briefly. If it’s too thin, add 3-4 more ice cubes and blend again.
- Taste and Adjust: Give it a quick taste test! Add more sugar if you want it sweeter, or more vanilla for a stronger vanilla flavor. Blend for another 5-10 seconds if you make adjustments.
- Pour and Serve: Pour the frappuccino into tall glasses, leaving about an inch of space at the top for whipped cream.
- Top with Whipped Cream: Add a generous swirl of whipped cream on top. For an authentic coffeehouse look, use a piping bag or a zip-top bag with the corner snipped off.
- Garnish and Enjoy: For extra flair, sprinkle a tiny pinch of vanilla bean paste or vanilla powder on top of the whipped cream. Add a wide straw and serve immediately!
Notes
- Sweetness Level: Start with 3 tablespoons of sugar and adjust to taste. Some prefer 2 tablespoons for a less sweet version, while others go up to 4 tablespoons.
- Milk Alternatives: Oat milk provides the creamiest non-dairy option. Almond milk works but creates a thinner consistency. Coconut milk adds a subtle tropical flavor.
- Make It Stronger: For an even more intense vanilla flavor, use both vanilla bean paste AND vanilla extract.
- Xanthan Gum Trick: Professional baristas often add a tiny pinch (1/16 teaspoon) of xanthan gum to prevent separation and create an ultra-smooth texture. This is completely optional but worth trying if you want that authentic coffeehouse consistency.
- Best Served Fresh: Frappuccinos are best enjoyed immediately after blending, as they can separate or melt if left sitting.
- Prep Time: 5 minutes
- Cook Time: 0 minutes
- Category: Beverage
- Method: Blended
- Cuisine: American
- Diet: Gluten Free
Nutrition
- Serving Size: 1 frappuccino (½ recipe, with whipped cream)
- Calories: 285
- Sugar: 28g
- Sodium: 75mg
- Fat: 12g
- Saturated Fat: 7.5g
- Unsaturated Fat: 3.5g
- Trans Fat: 0g
- Carbohydrates: 38g
- Fiber: 0g
- Protein: 5g
- Cholesterol: 45mg