Ingredients
Scale
For the Ice Cream Balls:
- 1 quart (4 cups) vanilla ice cream (premium, full-fat)
- 3-4 cups cornflakes, crushed into coarse crumbs
- 2 tablespoons granulated sugar
- 1½ teaspoons ground cinnamon
- 2-3 large eggs, beaten
- Vegetable or canola oil for frying (about 2 quarts)
For Serving:
- Honey or chocolate sauce
- Whipped cream
- Maraschino cherries
- Optional: Cinnamon tortilla bowls
Instructions
Step 1: Scoop and Initial Freeze (4+ hours ahead)
- Line a baking sheet with parchment paper or plastic wrap.
- Working quickly, use an ice cream scoop to form 4 large, round balls of ice cream (about 1 cup each, or the size of a baseball). Press firmly to compact the ice cream—no air pockets!
- Place the balls on the prepared baking sheet, spacing them apart.
- Immediately place in the freezer for at least 2 hours, or until rock-solid. The harder, the better! Overnight is ideal.
Step 2: Prepare Coating Mixture
- In a shallow bowl or pie plate, crush cornflakes into coarse crumbs (use your hands, a rolling pin, or pulse briefly in food processor—don’t turn them into powder, leave some texture).
- Mix in 2 tablespoons sugar and 1½ teaspoons cinnamon until evenly distributed.
- In a separate shallow bowl, beat 2-3 eggs until smooth.
- Set up your dipping station: beaten eggs, then coating mixture.
Step 3: First Coating (Do this quickly!)
- Remove one ice cream ball from freezer at a time (leave others frozen).
- Roll quickly in beaten egg, coating completely.
- Immediately roll in cornflake mixture, pressing firmly so coating sticks all over. The layer should be thick and even.
- Return to the parchment-lined baking sheet.
- Repeat with remaining balls, working fast!
- Return all coated balls to freezer for 1-2 hours until solid again.
Step 4: Second Coating (Essential for thick crust!)
- Remove balls from freezer one at a time again.
- Repeat the coating process: dip in egg, roll in cornflake mixture, pressing firmly.
- This double coating creates that thick, restaurant-style crust that won’t break during frying.
- Return to freezer for at least 2 more hours, preferably overnight. The balls should be frozen SOLID before frying—this is the key to success!
Step 5: Fry (or Bake)
Deep-Frying Method (Traditional):
- Heat 2-3 inches of oil in a heavy pot or deep fryer to 375-400°F (use a thermometer—this temperature is crucial!).
- Working with ONE ball at a time, carefully lower it into the hot oil using a spider strainer or slotted spoon.
- Fry for 8-15 seconds ONLY—just until the coating turns golden brown. Do NOT fry longer or the ice cream will melt!
- Quickly remove and place on paper towels to drain for just a second.
- Immediately transfer to a serving plate/bowl.
- Repeat with remaining balls (let oil return to temperature between batches).
Baking Method (Easier Alternative):
- Preheat oven to 500°F (yes, very hot!).
- Place frozen, coated ice cream balls on a parchment-lined baking sheet.
- Bake for 8-10 minutes, watching carefully, until coating is golden and crispy.
- Remove immediately and serve.
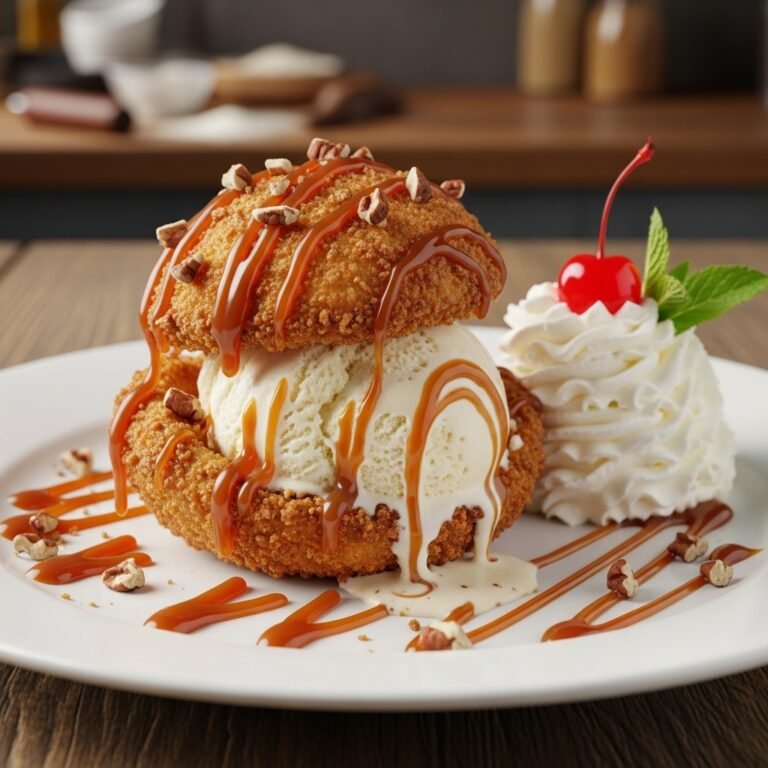
Step 6: Serve Immediately
- Place each fried ice cream in a serving bowl (or crispy tortilla bowl for authenticity).
- Drizzle with honey or chocolate sauce.
- Top with whipped cream and a cherry.
- Serve IMMEDIATELY—don’t let them sit! The magic is in eating them while the outside is still hot and the inside is still frozen.
Notes
- Freezing is CRITICAL: The ice cream must be frozen rock-solid before frying. If it’s even slightly soft, it will melt instantly. When in doubt, freeze longer!
- Oil temperature matters: Too cool (under 350°F) and the coating absorbs oil and becomes soggy; too hot (over 425°F) and the coating burns before crisping. 375-400°F is the sweet spot.
- Work fast during coating: Don’t let ice cream balls sit out—coat one, return to freezer, then do the next.
- Double coating is essential: The first coat often has thin spots; the second ensures complete coverage.
- Frying time is BRIEF: 8-15 seconds maximum! You’re just crisping the coating, not cooking the ice cream.
- Serve immediately: Fried ice cream waits for no one! Have plates ready, guests seated, and serve the moment they’re done.
- Baking method: Less authentic texture but way easier and less messy. Still delicious!
- Prep Time: 30 minutes (active)
- Cook Time: 1-2 minutes per ball (frying) OR 8-10 minutes (baking)
- Category: Desert
- Method: Deep-Frying OR Baking
- Cuisine: Mexican-American / Fusion
- Diet: Gluten Free
Nutrition
- Serving Size: 1 fried ice cream ball
- Calories: 420
- Sugar: 38g
- Sodium: 240mg
- Fat: 22g
- Saturated Fat: 10g
- Unsaturated Fat: 11g
- Trans Fat: 0g
- Carbohydrates: 52g
- Fiber: 1g
- Protein: 5g
- Cholesterol: 95mg